


• 1.jpg
  • 2.jpg
  • 3.jpg
  • 4.jpg
  • 5.jpg
  • 6.jpg
  • 7.jpg
  • 042A8449-LowRes.jpg
  • inclusive-climbing.jpg
  • JULY-24-071.jpg
  • JULY-24-079.jpg
  • RVR_zipline-06.jpg
◆ Zipline Construction · Guide

Zipline construction: from first design to safe operation

A commercial zipline is a long-term investment: a good line runs for many years and draws visitors season after season. Whether it does that safely depends on decisions made long before the first cable is pulled. This guide follows the construction of a zipline step by step — height and speed, braking, engineering, installation, inspection, maintenance and what drives the cost.

Zipline launch tower with riders at sunset
Short answerBuilding a zipline starts with a site assessment and a feasibility study, followed by engineering of the cable, anchors, platforms and brakes, approval of the design, installation, test runs with test weights and an inspection before opening. After opening, daily checks, maintenance and an annual main inspection keep the line safe.
Zipline constructionInstallationOperators & investors
Height, slope and speed

Getting the line right

Every zipline starts as two points on a map. The height difference between them, the length of the line and the sag of the cable decide how the ride feels — and whether it can be braked safely.

How high does a zipline need to be?

There is no single answer, because height is never the goal in itself. What matters is the height difference between start and finish in relation to the length of the line: that sets the slope, and the slope sets the speed. Where the terrain provides the drop, simple platforms are enough. Where it does not, towers create the height.

Two other heights matter just as much. The launch must be high enough for the cable to clear the ground, trees and structures along the whole span when the heaviest rider is at the lowest point of the sag. And the arrival must be at a height where riders can be stopped and unclipped safely.

✓
Height difference and length together set the slope
✓
Clearance is checked with the line loaded, at its lowest point
✓
Arrival height is set by the landing platform and the brakes

What sets the speed of a zipline?

  • Slope and sag: a steeper line is faster; a line with more sag is fast in the middle and slower at the end.
  • Rider weight: heavier riders arrive faster, because air resistance slows them relatively less.
  • Trolley: the rolling resistance of the trolley changes the speed profile.
  • Wind, temperature and rain: a tailwind or a cold, wet day can raise arrival speeds considerably.
The design question is not "how fast?" but "how fast for whom?". The lightest rider must still arrive in a headwind, and the heaviest rider must not arrive too fast for the brakes in a tailwind.
Braking and safety

Stopping every rider, every time

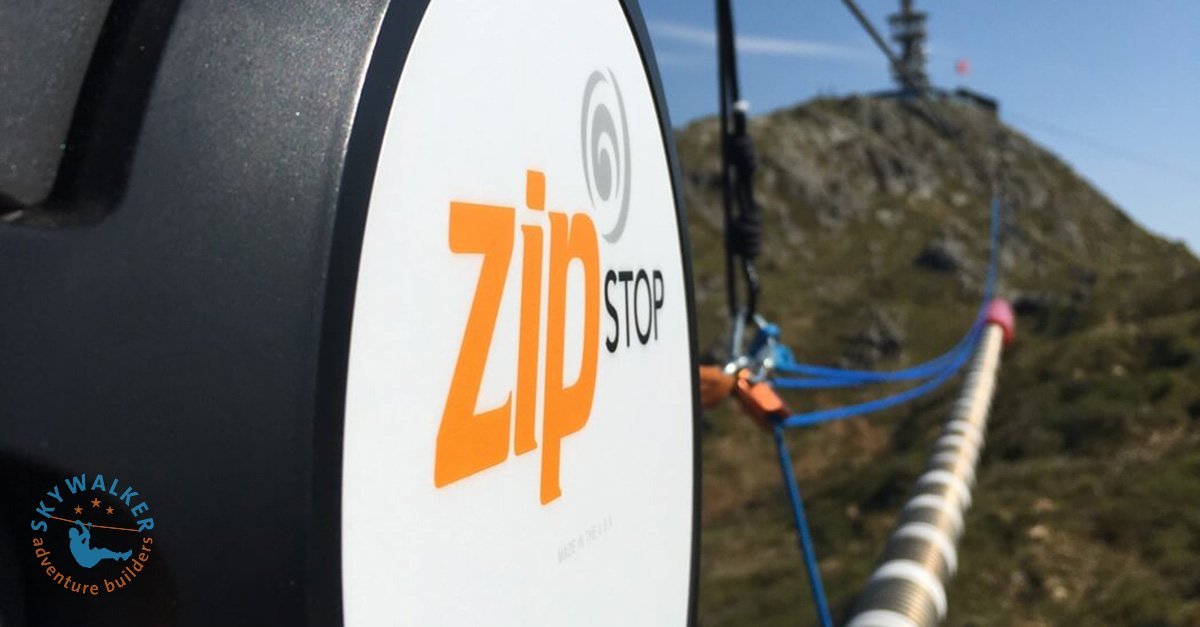
On a commercial line, riders should not have to brake themselves. Hand braking depends on the rider's reaction and strength; a passive brake system slows every rider automatically and gives a consistent stop.
🛑

Primary brake

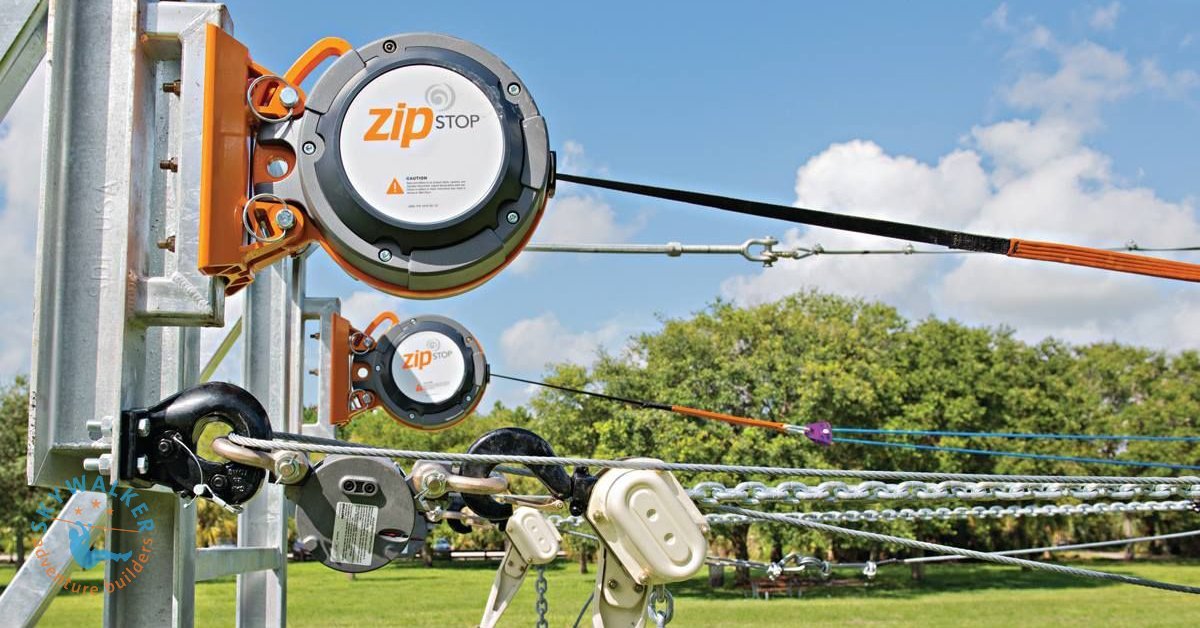
Spring brakes, magnetic end brakes and block-and-tackle systems stop the rider at the end of the line. The brake is sized for the full range of arrival speeds and rider weights.

⚠️

Emergency arrest device

An independent emergency brake stops the rider automatically if the primary brake fails. Read why in zipline braking dynamics.

🧗

Riders and staff

Harnesses, lanyards and helmets that fit the full guest range, clear briefings and trained guides who run the clip-in checks, launch and landing.

Zipline end brake with spring emergency arrest device at the landing

Safety is designed in, not added on

In Europe, ziplines are designed to EN 15567 (European Ropes Course Standard). That standard covers design, construction and operation together: the line, the brakes, the platforms, the equipment and the way the line is run. Safety therefore starts at the drawing table — with the right slope, enough braking distance and a landing zone with room for staff and riders.

See every component of a complete system in the parts of a zipline.

Engineering and installation

How a zipline is built, step by step

Zipline construction has much in common with building a house: assess the site, design, get approval, build, test and hand over. Skipping a step usually costs more later than it saves now.
1
Site assessment

Start and end points, terrain, vegetation, access and wind. Can the line be built here, and where are the anchors?

2
Feasibility study

Profile analysis and speed simulation for the lightest and heaviest rider, with a first estimate of sag and tension and a go / no-go advice.

3
Design and calculations

Minimum breaking strength of the cable, cable tension and sag, anchor and foundation loads, clearance along the line and stopping distance at the landing.

4
Approval

The design and calculations are checked by an independent inspection body, and permits are arranged where needed.

5
Installation

Foundations and anchors, towers or platforms, the cable and its tensioning, then the trolleys and brakes.

6
Testing and opening

Test runs with a range of unmanned test weights, measurement of arrival speeds, a check of both brakes and an inspection before the first guest rides.

What drives the cost of a zipline?

Every line is different, so a realistic budget follows from the design. These are the factors that move it most:

  • Length of the line and the number of lines
  • Whether the terrain gives the height or towers and platforms have to create it
  • Ground conditions, foundations and anchors
  • The braking system and the emergency arrest device
  • Access to the site for materials and machines
  • Local permits and the requirements of the inspection body
  • The number of riders per hour you want to handle

A zipline feasibility study turns these factors into numbers for your site before you commit to construction.

Installation of a zipline end brake and trolleys at a landing platform
After opening

Inspection and maintenance

A zipline is only as safe as its last inspection. A clear routine of checks, maintenance and records keeps every component working as designed.

Inspection

  • Daily: a pre-use check of cable, anchors, platforms, trolleys, brakes and rider equipment before the first ride.
  • Periodic: a closer look at wear, corrosion, cable tension and brake performance at set intervals.
  • Annual main inspection: a complete inspection of the installation by a competent, independent inspector, with a written report.

Maintenance and records

Worn parts are replaced before they fail, trolleys and brakes are serviced to the manufacturer's instructions, and vegetation along the line is kept clear. Every check, repair and replacement is recorded — the logbook shows the inspector, and your insurer, that the line is kept in the condition it was designed for.

Our lifecycle management service sets up this regime with you.

Ordering parts for an existing line? See the shop categories for zipline braking systems, zipline trolleys and zipline harnesses.

Frequently asked questions

How high does a zipline need to be?

There is no fixed height. The height difference between start and finish, relative to the length of the line, sets the slope and with it the speed. The launch must also be high enough for the loaded cable to clear the ground and obstacles at its lowest point.

How are ziplines installed?

Foundations and anchors are built first, then towers or platforms where needed. The cable is pulled, tensioned to the design value and fitted with trolleys and brakes. The line is then tested with unmanned test weights and inspected before opening.

How much does it cost to build a zipline?

It depends on the length, the number of lines, whether towers are needed, the ground conditions, the brakes and the site access. A feasibility study gives you a realistic picture for your site; for a full park, see build your park.

Can I build a zipline in my own garden?

This guide is about commercial ziplines. The same physics apply to a private line: it needs strong anchors, the right slope, a safe way to stop and regular checks. Involve a competent professional and follow the equipment manufacturer's instructions.

Related content

Want a first feel for the forces on your line? Our zipline cable tension and sag guide explains the calculation and includes an indicative calculator.

Zipline design packages
From a 5–10 day feasibility study to the Construction Book and certification support. Fixed fee per package, the study fee credited back when we build.
✓ Adventure park builder since 2005✓ Ziplines designed to EN 15567✓ Annual main inspection and lifecycle support✓ Offices in Ede, Amsterdam, Dubai and Riyadh

Planning a zipline?

Tell us about your site and your plans. We advise on the next step — usually a fixed-fee feasibility study — before you commit to construction.